2014
Digital Tutors
James Whiffin
02:25:00
English
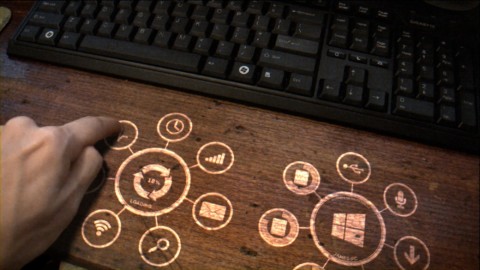
Throughout these lessons we will cover the entire process from start to finish of creating a refracting user interface that reacts to our live-action plate.
We'll start off with the matchmoving process and then dive into After Effects to explore the principals of good motion design. Core fundamentals such as linear workflow and motion blur settings are also explained. We'll then jump into Maya and create a liquid simulation using the Maya pond system.
All elements are then taken into NUKE where they are seamlessly composited together in the most visually appealing manner.
1 Introduction and project overview 00:44
2 Matchmoving in PFTrack 11:56
3 Setting up the After Effects project 09:24
4 Designing the UI style 07:52
5 Utilizing the Ease and Wizz script 10:26
6 Animating icons in the UI 09:55
7 Refining the motion blur settings 11:24
8 Creating an appealing transition out for the UI 09:08
9 Adding a transition to the icons 14:23
10 Animating an intense zoom transition 09:50
11 Advanced text options 09:37
12 Animating a dummy locater 08:19
13 Refining the simulation 09:34
14 Compositing our motion design 09:04
15 Adding the final effects 11:35
http://www.digitaltutors.com/11/training.php?pid=1559
Download File Size:492.42 MB