2014
Digital Tutors
Josh Lobel
04:30:00
English
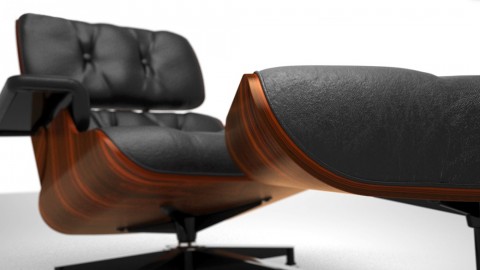
Throughout these lessons we will focus on technology-based approach to the creation and manipulation of complex surfaces in Rhino. Although the rapid creation of these surfaces is relatively easy, we can precisely control the geometry that will give you the skills to approach this work with much greater confidence and accuracy. We also consider numerous techniques to save time in the construction and editing of our geometry, which allows you as a professional modelers to improve the speed and efficiency of your work.
01. Introduction and project overview
02. Setting up our file
03. Creating our plywood chair shell
04. Beginning the cushion surfaces
05. Setting up wire frames for our headrest
06. Completing our profile curves
07. Deforming the headrest cushion
08. Customizing folds and creases on our headrest
09. Implementing piping and stitching
10. Forming profile curves for our backrest
11. Generating the backrest initial cushion
12. Deforming the backrest cushion
13. Completing the backrest
14. Laying out our armrest curves
15. Building the armrest support plate
16. Constructing the armrest surface
17. Forming the armrest panels
18. Adding piping, stitching and hardware
19. Adjusting the armrest positioning
20. Producing the feet and base
21. Developing the star base
22. Executing the chair spider base geometry
23. Working on the chair spider base
24. Completing the chair spider base
25. Beginning the ottoman bases
26. Finishing the ottoman bases
27. Finalizing the ottoman hardware
28. Adding the headrest connection hardware
http://www.digitaltutors.com/tutorial/1713-Complex-Surface-Modeling-in-Rhino
Download File Size:2.68 GB