2013
Digital Tutors
Pierre Derenoncourt
01:20:00
English
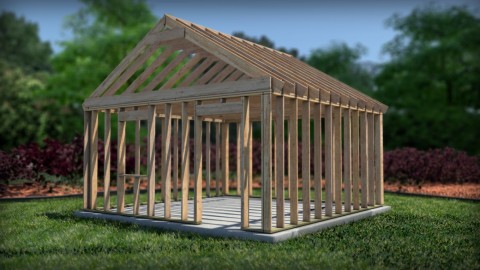
In this series of Revit tutorials you will learn the basic concepts and tools you can use to create a wood frame structure in Revit. We'll begin by setting work planes and reference planes that will help set the stage for our framing project. From there, we'll make and label materials according to our framing system requirements. Once we've created our materials, we'll begin framing out the small building starting with the exterior walls. Once our walls are in place, we'll frame the ceiling as well as door and window openings. And finally, you'll learn how easily you can frame a basic roof system using the framing materials we've customized. Once our building is complete, you will be introduce to the lumber extension tool and will explore how this tool can be a time saver for any wood framing project. By understanding these framing and modeling concepts, along with how to use the lumber extension tool, you'll be able to tackle any framing project thrown your way.
01. Introduction and project overview 00:00
02. Creating custom wood framing families 09:53
03. Framing walls 09:22
04. Framing a ceiling 07:10
05. Placing ceiling joists 07:20
06. Framing windows 11:31
07. Framing doors 08:55
08. Framing a roof 07:34
09. Finishing the roof frame 05:35
10. Placing collar beams 04:29
11. Using the Timber Extension tool 06:55
http://www.digitaltutors.com/tutorial/1336-Creating-a-Wood-Frame-Model-in-Revit
Download File Size:563.92 MB