2015
Digital Tutors
Mark Masters
2:44
English
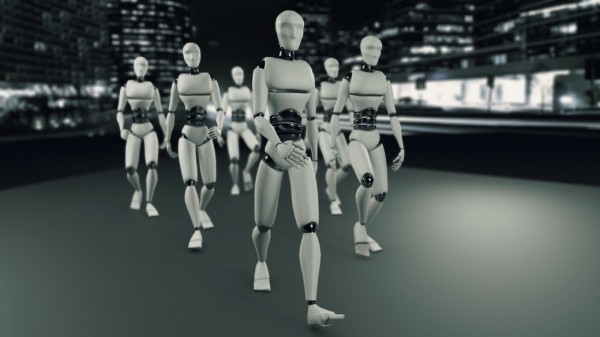
In this Blender tutorial, we’ll learn how to create a believable walk cycle in Blender.
We'll begin by studying the primary extreme poses that make up every walk cycle. Then we’ll study video reference and pick apart some of the main traits you’ll find in a person’s walk in the real world.
Next, we’ll start our animation by creating the contact position. Once we have all the extreme poses established we’ll begin refining our animation utilizing Blender’s Graph Editor to adjust things like spacing, as well as make larger scale changes to our animation. Finally, we’ll explore some ways we can very easily add a lot of personality and character to our walk by adjusting our extreme poses.
By the end of this Blender training, you’ll be able to start tackling your own character’s walk cycles.
1 Introduction and project overview
2 Breaking down the main poses of a walk
3 Studying video reference
4 Preparing the scene for animation
5 Starting the contact position
6 Finishing the contact position
7 Creating the down position
8 Adding the passing position
9 Creating the up position
10 Refining the upper body
11 Beginning the finger animation
12 Finishing the finger animation
13 Adding more weight to the hips
14 Adding rotation to the feet
15 Creating lead and follow for the head
16 Creating the second step in the walk cycle
17 Tweaking the movement on the arms
18 Polishing the fingers
19 Finishing the walk cycle
20 Translating the walk forward
21 Quickly adding personality and character to a walk cycle
Download File Size:1.15 GB