2015
Lynda
Luisa Winters
3:01
English
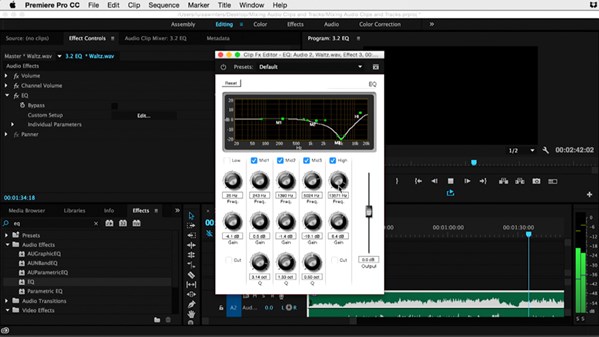
Good audio makes for great video, and with Premiere Pro, you can make your audio sound great. In this installment of Premiere Pro Guru, Luisa Winters walks through the process of mixing audio—adjusting levels, adding transitions, and more—and then stepping it up a notch with some commonly used effects, such as EQ, reverb, and de-essing. She also includes tips for changing the length and speed of your audio tracks, recording scratch tracks, and exporting audio separately from video.
Introduction
Welcome
Using the exercise files
1. Setting Up the Mix
Knowing your equipment and setting up your audio
Understanding gain and levels
What is normalization and when should we use it?
Changing the interface to suit your needs
Understanding the types of audio tracks
Audio channels together? No problem! Separate your audio tracks
2. Mixing Your Sound
Understanding audio meters, dynamic range, and clipping
Adjusting levels in the Timeline
Adding keyframes
Understanding audio transitions
Audio clip and track mixer: What's the difference?
Understanding automation modes, part 1: Read, write, touch, and latch
Understanding automation modes, part 2: Read, write, touch, and latch
What are submixes and why should I use them?
3. Commonly Used Effects
Multiband compressor
Limiter
EQ
Loudness radar
Reverb
DeEsser
DeHummer
Understanding pre- and post -faders
Use Audition to clean up your audio
Healing noise in Audition
Using Audition to match the level of your clips
4. Other Audio Editing Tips
How do you restore deleted audio?
Trim your audio on the go
Change the speed of audio, not the pitch
Recording a scratch track
Exporting audio
Conclusion
Goodbye
Download File Size:1.59 GB