2014
Lynda
Chris Orwig
1:10
English
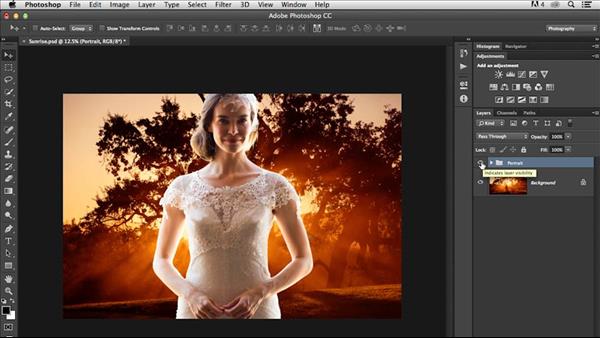
In this course, the first in a series dedicated to creative portrait adjustments, Chris Orwig shows how to swap out the background of a portrait with something new. This technique is similar to photo illustration and can result in some really striking and visually interesting photographs. Chris begins in Camera Raw, where he creates multiple exposures of the original raw file and combines them in a PSD file, and then moves to Photoshop to mask the subject and copy the mask into the new background. In the second half of the course, he'll show you how to make the subject look at home in her new environment using Edge Glow; brightness, color, and tone adjustments; and lens flares.
Introduction
Welcome
Using the exercise files
1. Replacing the Background for Dramatic Effect
Editing the background image
Improving and duplicating the portrait
Combining two raw files into one Photoshop document
Selecting and removing the subject from the background
Using masking to combine images together
2. Improving Details, Color, and Tone
Cropping the image and cleaning up mask edges
Adding a glow effect
Improving the brightness
Enhancing color and tone
Retouching away distractions
Adding a lens flare effect
Final adjustments and overall project review
Conclusion
Next steps
Download File Size:610.63 MB