2014
Digital Tutors
Laura Smith
03:30:00
English
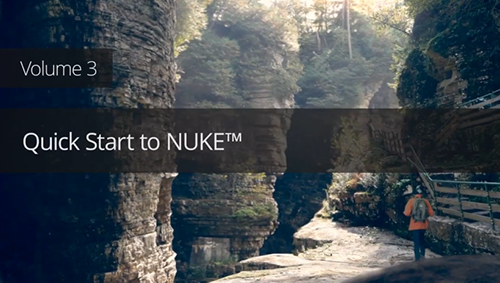
In this volume, we'll focus on applying photographic textures to 3D geometry right inside of NUKE. This volume will cover the ins and outs of the 3D system in NUKE and with that knowledge, you'll learn how to transform a still photograph into live video footage. We also learn how to key and integrate green screen footage in our shot. We'll also be reinforcing previously learned concepts like rotoscoping and node tree organization though at a slightly faster pace. We'll end with color correction and learning how to use a few new finishing nodes.
1. Introduction and project overview
01:47
2. Beginning with a 3D setup: Using images and cards
10:25
3. Isolating our images with Roto nodes
09:25
4. Placing our rotoscoped objects onto cards and cylinders
10:26
5. Positioning our cards and cylinders in space
08:50
6. Continuing to build our 3D scene
08:17
7. Animation our camera
10:24
8. Adding RotoPaint nodes to fix areas of repeated parallax
09:24
9. Using the DisplaceGeo node
10:25
10. Final positioning of the camera and geometry
11:56
11. Keying the green screen
10:19
12. Integrating our keyed footage into the shot
08:53
13. Animating the shadow
09:22
14. Color correcting and grading the actor
09:05
15. Adding a rock in the foreground
09:52
16. Fine-tuning the integration of the rock and the shadow
08:26
17. Blurring for more realistic depth of field
09:45
18. Editing the node tree to allow for blur control
11:28
19. Light wrapping the actor and rock
08:05
20. Integrating particles, fog, and a bug
11:22
21. Adding God Rays and a Flare node
10:50
22. Creating grain and adding the finishing touches
05:29
23. Writing out the scene to a sequence
03:51
24. Volume 3 assignment
02:35
http://www.digitaltutors.com/tutorial/1698-Quick-Start-to-NUKE-Volume-3
Download File Size:1.36 GB