2014
Digital Tutors
Eddie Russell
03:30::00
English
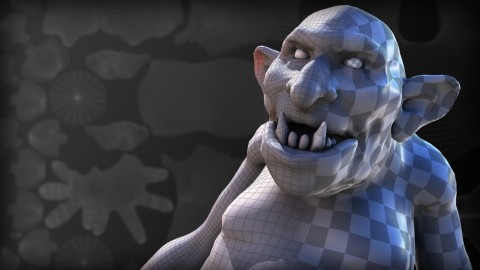
When looking to move an asset from the modeling phase of a pipeline to texturing, there is an important step that must be done so textures can be created for the asset. A UV layout must be created. This process of unwrapping a 3D object into 2D space has been around for quite some time but is still widely used in several industries. This course will get you up to speed and productive in no time when it comes to laying out UVs. If you are new to this process, this course is for you. We’ll start by learning about several different forms of projection that can be used as a starting point in the creation of UVs. From here we’ll learn how we can start to combine different forms of projection for more complex shapes. Now projections don’t always give perfect results, so next we’ll learn about some things we need to be on the lookout for including distortion, overlapping of UVs and UV scaling. The second half of this course will be devoted to creating a UV layout from start to finish for our ogre asset. We will walk through each piece of the model, tackling problems and tough areas together. After completing this course, you will be ready to start creating UV layouts for your own assets in Maya.
01.Introduction and project overview
02.Introduction to UVs
03.Using planar maps
04.Using cylindrical maps
05.Using spherical maps
06.Using automatic mapping
07.Using multiple projections
08.Using unfold to modify UV shells
09.Dealing with UV issues
10.Preparing the asset for UV layout
11.Cylindrical mapping the ogre’s first arm
12.Unwrapping the second arm
13.Unwrapping the legs
14.Unwrapping the torso
15.Unwrapping the feet
16.Unwrapping the hands
17.Unwrapping the head
18.Unwrapping the clothing
19.Unwrapping the finger and toe nails
20.Unwrapping the teeth
21.Unwrapping the eyes
22.Laying out the finished UVs
http://www.digitaltutors.com/tutorial/1787-UV-Mapping-Workflows-in-Maya
Download File Size:1.09 GB