2014
Lynda
Kacie Hultgren
0:55
English
Creating replacement parts for household appliances and furniture (like a broken oven knob or draw pull) is a great use of desktop 3D printers. In this short project course, author Kacie Hultgren takes us through the four steps needed to design and ultimately print a replacement part with your 3D printer: sketching your ideas on paper, translating notes into a digital design with a CAD program, testing the print, and then revising and improving on your model. Start now and learn to create replacement parts that are almost as good as the original.
Introduction
Welcome
What if I don't have a 3D printer?
1. Measure and Record
Thinking in 3D
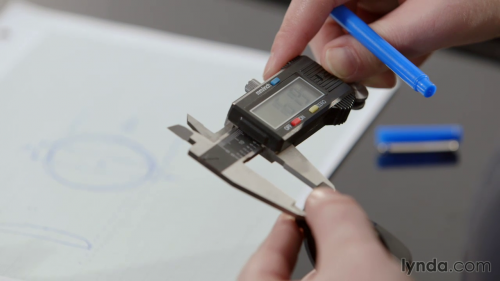
Measuring with calipers
2. Design in Tinkercad
Introducing Tinkercad
Working with shapes
Using Shape Generators
Grouping and aligning
Using the workplane
Creating holes
Creating complex shapes
Exporting your design
3. Print and Test
Plating and printing
Design for manufacturability
Critiquing our design
Design rules: Avoid overhangs
Design rules: Planning for thread width
4. Optimize and Rework
Iterating with Cut, Copy, and Paste
Splitting the design into two pieces
Adjust shapes with Ungroup
Conclusion
Brainstorm and next steps
http://www.lynda.com/
Download File Size:326.66 MB