2015
Lynda
Paul J. Smith
6:17
English
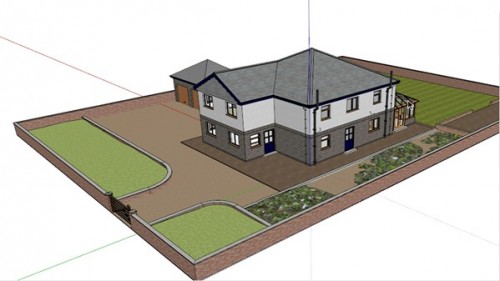
Join Paul J. Smith in this course and learn how to link your SketchUp model to LayOut and generate professional looking plans, views, and elevations. This course, focusing on the advanced features in SketchUp Pro, starts with a complete SketchUp model and looks at how scenes, styles, and active section planes enable you to control your 3D model in LayOut. Paul will show how scenes, styles, and section cuts work together to generate the 3D and 2D information you need to produce a set of working drawings. Then learn to dimension and annotate with LayOut's powerful yet simple tool and call on the power of the scrapbook to add entourage, images, and symbols in your drawings. Paul will also explain the way LayOut and SketchUp link together, where to store your templates and scrapbook elements, and how to avoid missing references. It's a comprehensive course covering all the steps required to leverage the 2D from the 3D.
1. Introduction
Welcome
What you should know before watching this course
Using the exercise files
What to expect from watching this course
Differences between the Windows and Mac interface
The SketchUp triumvirate: Styles, scenes, and sections
2. All About Styles
What are styles
Editing style edges
Editing style faces
The background settings
The watermark settings
Creating a template watermark with Adobe Illustrator
Creating a template watermark with SketchUp
The model settings
Mixing new styles
Saving styles
3. All About Scenes
What are scenes?
Adding scenes
Updating scenes
Aligning geometry between scenes
Animating scenes
4. All About Sections
Adding sections
Active, inactive, and selected
Aligning, flipping, and exporting sections
Controlling section visibility
Animating sections
More than one section
Acoustic ceiling animated
5. Creating the Views for Layout
Location and site plan views
Floor plan views
Front elevation view
Elevations, no landscape
Sections views
3D views
Remaining 3D views
6. Into LayOut
The LayOut interface
Customizing the toolbars
LayOut preferences
Document setup
References
Print setup
Large file sizes and how to deal with them
7. Creating the Template
Template start
Inserting the company logo
Finishing the title box
Adding project information
Saving as a template
8. Site Plans
Loading the templates
Warning triangles and missing files
Site plans
Scrapbooks
3D views
Annotation
9. Floor Plans and Elevations
Floor plans
Raster vs. vector
The Create Group from Slice command
Slices
Slices complete
Moving the camera
Adding elevations
10. Coordinating Plans and Elevations
Duplicating sheets and changing styles
Adding pattern fills
Floor zones and tags
Grids and levels
Exploding model objects
11. Annotations
The point size
Paragraph text
Label text
Dimensions
Adjusting dimensions
Adding blocks
12. The Amazing Scrapbook
The amazing scrapbook
CAD furniture
Using the Join and Split tools
Saving as scrapbook page
SketchUp models as scrapbook elements
Lines and arcs
Rectangles, circles, and polygons
Images and clipping masks
Clipping mask limits
Adding trees to elevations
Conclusion
Next steps
Download File Size:1.62 GB