2015
Digital Tutors
Shane Whelan
3:56
English
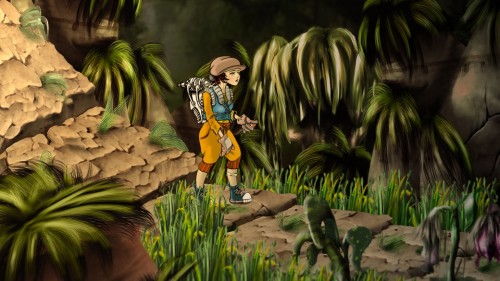
In this Unity tutorial, we’ll learn how to prepare and make an animated 2D character using a bone hierarchy.
We’ll pay particular attention to issues such as scaling with respect to 2D physics, inverse kinematics in 2D, Z-orders and Unity's Animator component. We’ll also write and assign character control scripts within Unity.
By the end of this Unity training, you’ll have learned animation techniques that you can start incorporating into your own game projects.
1 Introduction and project overview
2 Learning about our character
3 Breaking up the character to prepare for Spriter
4 Introduction to Spriter
5 Using Z Order to build character
6 Using bones to articulate character
7 Planning for Unity Animator logic
8 Preparing a reference clip in Spriter
9 Starting walk cycle in Spriter
10 Adding swinging arms to walk cycle
11 Finishing the animation
12 Cleaning out reference sprites from Spriter
13 Importing from Spriter to Unity
14 Laying out animations for character
15 Setting up parameters to change character behavior
16 Creating a behavior script
17 Creating placeholder sprites in Photoshop at a projected angle
18 Slicing multiple sprites in Unity
19 Editing the shape of 2D colliders in Unity
20 Sorting layers and sorting order for Unity sprites
21 Scripting a custom character controller
22 Facing character left and right with user input
23 Using Rigidbody2D component and Animator to move the character
24 Updating our project
Download File Size:997.35 MB