2014
Lynda
Kevin Stohlmeyer
0:37
English
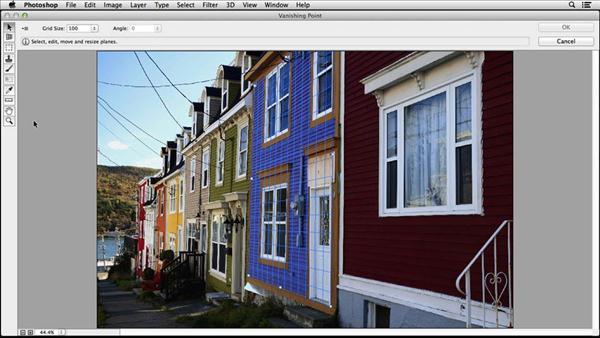
Learn how to work with perspective in Photoshop: adjust it, repair it, and create better composites with perspective in mind. Adobe Certified Instructor Kevin Stohlmeyer takes you on a quick tour of the three types of perspective, and shows how to adjust perspective with everything from simple cropping to the Perspective Warp tool found in Adobe CC, as well as repair content in photos with dramatic perspective. Plus, learn how to insert new elements into a perspective shot and make sure they blend perfectly with the rest of the composition.
Introduction
1m 43s
Welcome
1m 4s
What you should know before watching this course
18s
Using the exercise files
21s
1. Getting Started
6m 8s
Intro
50s
Identifying perspectives
1m 12s
Identifying vanishing points
41s
Creating a perspective grid
3m 25s
2. Adjusting Perspective
8m 52s
Types of distortions
1m 22s
Cropping and transforming in perspective
1m 17s
Lens Correction: Auto and manual
2m 30s
Adaptive Wide Angle
1m 36s
Photoshop CC feature: Perspective Warp
2m 7s
3. Repairing Items in Perspective
6m 27s
Content-Aware Fill
1m 11s
Vanishing Point: Setting up the grid and using the Stamp tool
1m 42s
Vanishing Point: Healing with the Stamp tool
1m 21s
Manual repairs
2m 13s
4. Adding Items to Perspective
13m 33s
Free Transform
2m 34s
Distort
1m 50s
Puppet Warp
2m 21s
Vanishing Point
3m 15s
Blending with original content
3m 33s
Conclusion
29s
Next steps
29s
lynda.com/Photoshop-tutorials/Working-Perspective-Photoshop/165352-2.html
Download File Size:286.18 MB