2013
Digital Tutors
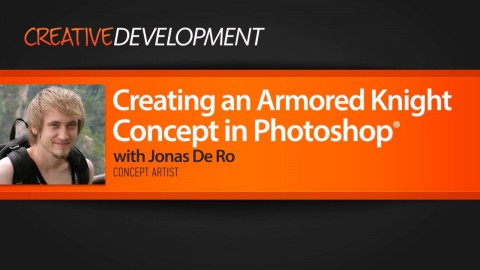
Jonas De Ro
02:10:00
English
In this series of Photoshop tutorials we will go over the process of how to draw a medieval knight using various painting and photo texturing techniques. We will cover the entire process of creating a polished illustration of a medieval fantasy knight. We'll start with a 3D base, which we will use to as a starting reference for anatomy and pose. Using simple line drawing, we will then layout the basic bits and pieces of our armor. The next step is to photo texture the armor using reference images from real armors. To finish everything up we will have a look at different blending and lighting techniques that will help you polish and finalize any digital illustration. After viewing this training you should have a solid grasp on using photo textures, painting different types of lighting and reflection and finishing a drawing that looks clean, crisp and ready for your portfolio.
01. Introduction and project overview 00.53
02. Getting started 10.02
03. Drawing the armor outline 09.23
04. Refining the armor outline 09.23
05. Basic material painting 11.46
06. Photo texturing breast plate and shoulders 12.15
07. Photo texturing abdomen and neck 15.42
08. Photo texturing forearms and legs 11.27
09. Photo texturing helmet and back wall 08.10
10. Detailing and blending 07.59
11. Detailing the cloth and belt 10.11
12. Lighting and atmosphere 10.36
13. Finalizing the image 09.29
http://www.digitaltutors.com/tutorial/1362-Creating-an-Armored-Knight-Concept-in-Photoshop
Download File Size:799.35 MB