2013
Digital Tutors
Kyle Green
2h 53m
English
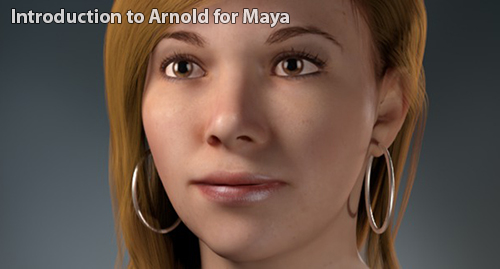
In this series of lessons, we will take an introductory look at the powerful Arnold renderer for Maya. We will begin by taking an in-depth look at some of the different render settings found in Arnold, and their importance in governing the final look and quality of your rendered images. From there, we will learn how to begin working with specialized Arnold light attributes, setting up image-based lighting, as well as using Arnold's built-in sky shaders. We will also learn how to control depth of field and motion blur within Arnold, rendering with volumetric effects such as fog and smoke, rendering your scene into multiple passes for compositing purposes, as well as many other tools, topics and features that will be invaluable as you begin your journey through this very powerful rendering application.
1. Introduction and project overview
2. Rendering with the standard Arnold material
3. Rendering Maya lights with Arnold
4. Understanding the Arnold sampling settings in Maya
5. Exploring the Ray Depth settings in Arnold
6. Image-based lighting with Arnold in Maya
7. Using the Arnold Physical Sky in Maya
8. Rendering Photometric and Mesh Lights with Arnold
9. Rendering depth of field and bokeh effects with Arnold
10. Using Arnold to render realistic skin in Maya
11. Using the Arnold hair shader in Maya
12. Rendering ambient occlusion in Maya using Arnold
13. Rendering volume atmospherics with Arnold in Maya
14. Using Arnold AOVs for multi-pass rendering
4. Understanding the Arnold sampling settings in Maya10:06
http://www.digitaltutors.com/
Download File Size:900.26 MB